 |
| Spelt bread from The Great British Bakeoff: How to Bake cookbook. |
I have officially made my first loaf of bread! Huzzah! This is a momentous occasion after several failed attempts at recipes containing the dreaded yeast. For years it has been my Achilles' heel, but no more!
Last weekend I attempted the whole grain/spelt bread recipe from
The Great British Bakeoff: How to Bake by Linda Collister, and it worked wonderfully! It actually looked like real bread and tasted delicious! It has a soft, slightly crumbly texture and a mild flavor, with the smallest bit of sharpness. It goes beautifully with butter, and can hold its own flavor when dipped in olive oil or soup.
Now I shall share the secrets that led to my triumph, and hopefully they will help you to avoid the mistakes that tripped me up in the past.
#1: Find a foolproof place for rising
I always fell at this most important hurdle. I set the bowl on the top of our refrigerator or near a sunny window or on top of the dryer, and yet I would check the progress of my dough in vain. I don't think it ever increased more than 30% – at the most – no matter how long I left it. At least three times I attempted yeast recipes with the same frustrating results... until one day I did something brilliant: I looked on Pinterest!
Someone on that invaluable website had had a stroke of genius, and came up with a reliable way to keep your dough warm while it rises:
- You boil water
- Put the boiling water in a pan (or a cup)
- Put the covered dough in with the pan in the oven (or put it in the microwave with the cup)
- Sit back and watch your dough rise
This method has not failed me yet! It may not be absolutely foolproof, but it's pretty close since you are placing the dough in a more controlled space than the less-than-predictable air of your kitchen.
I'm sure many of you have heard of this technique before, but for those of us who are still searching for the key (as I was), I would heartily recommend giving this a try.
 |
| The dough doubled in size after sitting in the microwave! So exciting. |
#2: Use enough liquid in the yeast paste
Once I tried a recipe that had me blend the dry yeast with a bit of warm milk – sounds simple, right? Well, it is possible for me to fail even in that. I put in just enough milk to make the yeast clump together in the most unappetizing lumpy mess. I had some misgivings but I thought it would mix together with the rest of the dough and be fine. Wrong. The dough
did rise (a little), but even after it was baked the mixture tasted overpoweringly of yeast – and now I know why yeast is not a popular flavor for
anything.
I hope I'm not the only person in history who has ever done that. But I also hope that this little mention of it will keep you from joining me on that list.
 |
| The dough after kneading in the salt, olive oil and last batch of flour. |
#3: Follow the recipe (and read it all the way through beforehand – maybe two or three times)
I got a little confused when I read this particular recipe because you add the flour in three batches of 250g. I got confused as to
when each batch of flour was supposed to be put in, so I ended up doing things a bit out of order. (I almost ruined it by adding the last batch too soon.)
Thankfully the recipe wasn't ruined! But I wanted to give this advice because I thought I had read the recipe thoroughly, when it turns out I really hadn't been as thorough as I'd thought.
I suppose another aspect to this advice is that if you do misread a recipe then you don't
necessarily have to panic. Just stop and look at what you're doing, what the recipe is telling you to do next, and how much the mistake will effect the outcome, then decide if it will still turn out – it may be salvageable more often than you'd think!
 |
| The dough all ready to go into the oven at last! |
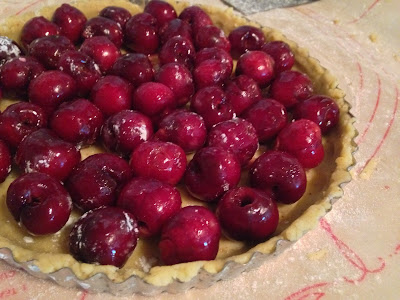
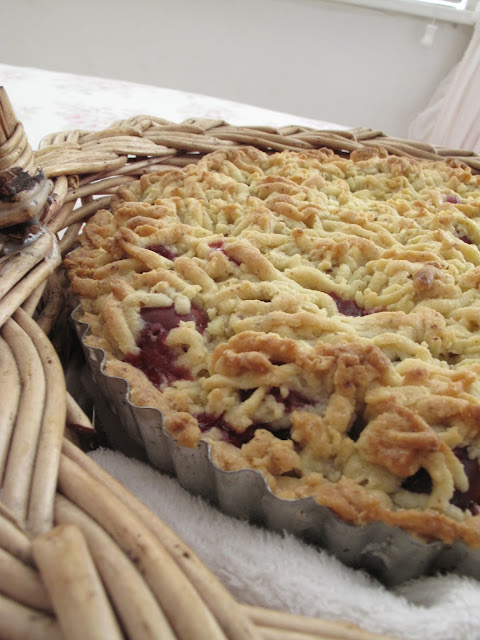
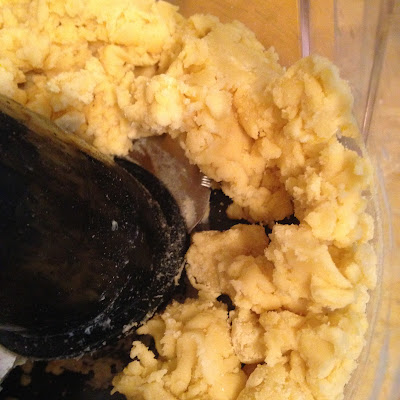
Thanks for reading! In my next post about baking I'll share my experience with grated almond flour pie crust and my first ever cherry pie...
© Anna Morton 2016


